
You water your English ivy, it sits in a decent window, and yet the leaf tips and edges are turning brown and papery, or whole leaves are going dark and limp.
If you are wondering why are my English ivy leaves turning brown, the answer is usually somewhere in the plant’s immediate surroundings: the air, the soil, or the pot.
The short version: Crispy brown tips and edges on English ivy usually point to dry indoor air, uneven watering, or spider mites. Soft, dark brown leaves with damp soil usually mean overwatering and root rot.
Match the type of browning to the cause, correct the conditions, and new growth will come in green.
This guide covers how to read the browning pattern, the seven most common causes, how to fix each one, and how to clean up the plant so it recovers.
Check These First
- Push a finger 1 to 2 inches into the soil. Bone dry and pulling away from the pot points to underwatering. Soggy and sour-smelling points to overwatering.
- Look at the undersides of the leaves with a flashlight. Fine webbing, tiny moving dots, or a dusty, speckled look means spider mites.
- Note where the plant sits. Within a few feet of a radiator, heating vent, or AC unit is a common trigger for crispy edges.
- Check the drainage. A pot with no hole, or a cachepot holding standing water, keeps roots wet.
- Look for a white crust on the soil surface or pot rim, a sign of fertilizer or mineral buildup.
Why Are My English Ivy Leaves Turning Brown? Read the Pattern First
English ivy leaves turn brown when the plant loses more water than its roots can supply, when roots are damaged, or when pests or disease attack the leaf tissue. The shape, texture, and location of the browning tells you which problem you have.
Crispy Versus Soft
Dry, crunchy brown areas mean the tissue dried out. That points to low humidity, underwatering, heat, too much direct sun, or salt buildup.
Soft, dark, mushy brown areas mean the tissue is rotting or infected, which points to overwatering, root rot, or a leaf spot disease.
A soil moisture meter takes the guesswork out of the first step.
Push it into the root zone, not just the top inch, and you will know right away whether you are dealing with a dry plant or a waterlogged one.
A small digital hygrometer near the plant tells you if the air is the issue.
Where the Browning Shows Up
The location of the damage narrows things down further.
| Browning pattern | Most likely cause |
|---|---|
| Crispy tips and edges, many leaves | Dry air, heat source nearby, salt buildup |
| Whole leaves dry and brown, soil very dry | Underwatering |
| Soft brown leaves, yellowing, wet soil | Overwatering, root rot |
| Brown patches on the side facing the window | Sunburn or cold glass |
| Dull, speckled leaves turning bronze, then brown | Spider mites |
| Dark spots with yellow halos | Bacterial or fungal leaf spot |
| Oldest leaves brown, new growth healthy | Normal aging |
If the browning comes with leaves rolling inward, the guide to English ivy leaves curling covers that overlap in more detail.
Reddish or purplish tints are a separate issue, usually tied to cold or bright light, and you can read about English ivy turning red, its causes, and when to worry.
Dry Air and Heat Sources: Crispy Tips and Edges
Low humidity is the most common reason indoor English ivy develops brown, crispy leaf edges, especially in winter. Ivy prefers moderate humidity, and forced-air heat can drop indoor levels to 20 to 30 percent.
Why Ivy Struggles in Heated Rooms
English ivy is a woodland plant that likes cool, fairly moist air. When the air is dry and warm, leaves lose water faster than the roots can replace it, and the thin outer edges dry out first.
Radiators and heating vents make this worse by blowing hot, dry air directly across the foliage.
You will typically see the damage show up a few weeks after the heat turns on in fall. The browning starts at the tips and margins and creeps inward, while the center of each leaf stays green.
How to Fix It
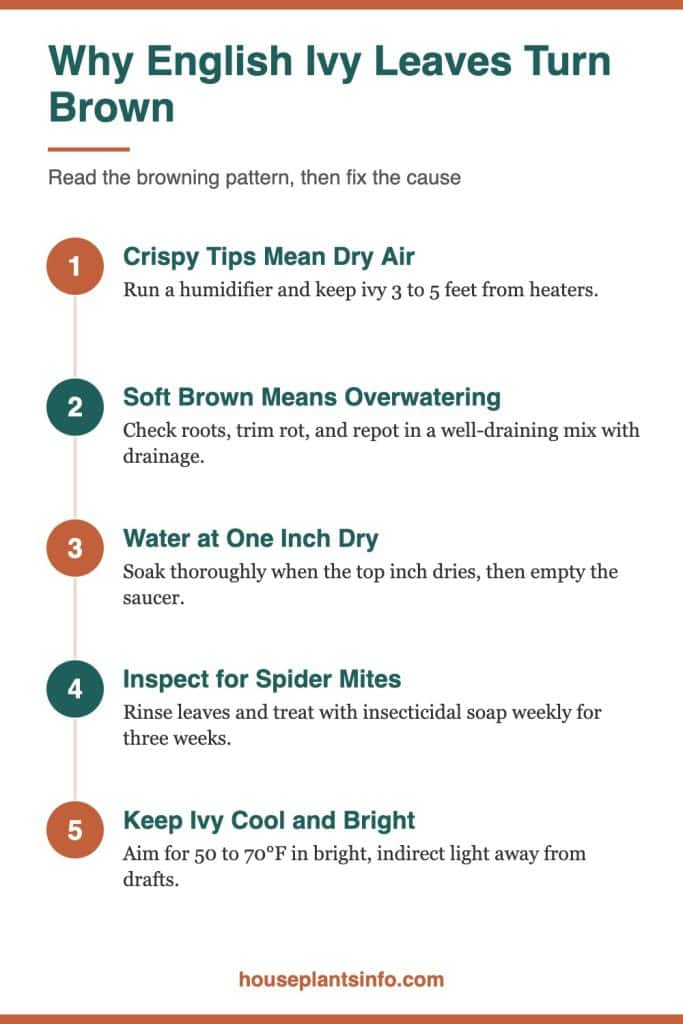
- Move the plant at least 3 to 5 feet away from radiators, baseboard heaters, and vents.
- Run a humidifier in the room and aim for 40 to 60 percent humidity.
- Group ivy with other plants, which raises humidity slightly around the leaves.
- Set the pot on a tray of pebbles with water below the pot’s base, so the roots never sit in water.
Misting gives only a few minutes of relief and can encourage leaf spot if leaves stay wet overnight. A humidifier does far more.
Sophia’s tip: In a Chicago winter, I keep ivy in a cooler room rather than the warmest spot in the apartment. A spot that stays around 60 to 65°F with a humidifier nearby beats a warm living room every time.
Underwatering and Uneven Watering: Dry, Brittle Leaves
If the soil is dry and pulling away from the pot and the leaves feel brittle, your ivy is not getting enough water, or it is swinging between bone dry and soaked.
Water thoroughly when the top inch of soil dries out, and keep that rhythm steady.
Signs the Plant Is Too Dry
Underwatered ivy wilts first, then the leaves go dull, brown at the edges, and eventually brown and crunchy all over. The pot feels light when you lift it.
Lower and inner leaves often drop. For a closer look at this specific symptom, see why English ivy leaves turn crunchy.
Getting the Watering Right
In most indoor conditions, ivy needs water every 5 to 10 days in spring and summer and less often in winter. Rather than a fixed schedule, check the soil.
When the top inch is dry, water slowly until it runs out of the drainage hole, then empty the saucer after 15 minutes.
If the soil has dried so much that water runs straight through, bottom water. Set the pot in a few inches of room-temperature water for 20 to 30 minutes so the root ball rehydrates evenly, then let it drain.
When the Plant Dries Out Too Fast
If you are watering correctly and the soil is still dry within two or three days, the plant may be root-bound.
Roots circling the pot or poking out the drainage hole mean it is time to move up one pot size, about 1 to 2 inches wider.
Overwatering and Root Rot: Soft Brown Leaves
When ivy leaves turn soft, dark brown or yellow-brown while the soil stays wet, the roots are likely suffocating or rotting. Stop watering, check the roots, and fix the drainage.
How Wet Soil Causes Browning
Roots need oxygen. In soil that stays saturated for days, roots die back and rot, so they cannot supply water to the leaves. The irony is that an overwatered plant can look thirsty, wilting and browning even though the pot is wet.
Common causes indoors include pots without drainage holes, decorative cachepots that collect water, dense potting mix, and watering on a schedule during winter when growth slows.

Checking and Treating the Roots
Slide the plant out of its pot. Healthy roots are white to light tan and firm. Rotted roots are brown or black, mushy, and often smell sour.
- Trim off all soft, dark roots with clean scissors.
- Remove as much of the old soggy soil as you can.
- Repot in fresh, well-draining mix in a clean pot with a drainage hole, sized to the remaining roots.
- Water lightly and wait until the top inch dries before watering again.
If most of the roots are gone, take healthy stem cuttings as backup. Ivy roots easily in water or moist mix.
Choosing a Mix That Drains
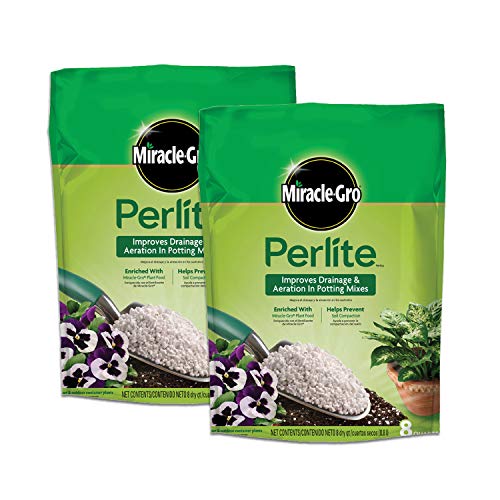
English ivy does best in a loose, well-aerated potting mix rather than heavy garden soil. Adding perlite improves drainage and airflow around the roots. For a full breakdown, see what type of soil works for indoor English ivy.
Sophia’s tip: If your ivy lives in a decorative pot with no hole, keep it in a plastic nursery pot inside it. Lift it out to water at the sink, let it drain fully, then put it back.
Too Much Sun, Heat, or Cold Drafts: Scorched or Damaged Patches
Brown, bleached, or crispy patches on the side of the plant facing the window usually mean sunburn, heat stress, or cold damage from the glass. Move the plant to bright, indirect light and away from temperature extremes.
Sunburn
English ivy likes bright light but not hours of hot direct sun through glass. A south- or west-facing window in summer can scorch leaves, leaving dry tan or brown patches on the most exposed foliage. Variegated ivies, with less green tissue, burn more easily.
Place ivy a few feet back from a south or west window, or behind a sheer curtain. An east-facing window, with gentle morning sun, suits it well.
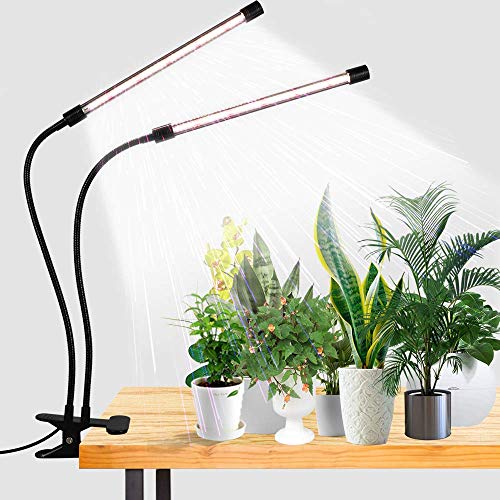
A north window works if it is bright and unobstructed. In darker apartments, a full-spectrum grow light placed 12 to 24 inches above the plant for 10 to 12 hours a day keeps growth dense without scorching.
Heat Stress
Ivy prefers temperatures around 50 to 70°F, which is cooler than many people expect. Sustained temperatures above about 80°F, especially combined with dry air, lead to browning and weak growth.
Keep it away from sunny windowsills that heat up in the afternoon and from the top of refrigerators or electronics.
Cold Drafts and Freezing Glass
In winter, leaves pressed against a cold window can turn brown or blackish where they touch the glass. Frequent blasts from an exterior door or an AC unit in summer can also stress the plant.
Keep foliage a few inches off winter windows and out of the direct path of air conditioners.
Fertilizer Burn and Water Quality: Brown Edges With a Crust
A white crust on the soil or pot rim, combined with brown leaf tips, usually means salts from fertilizer or hard water have built up in the soil. Flush the soil and feed more lightly.
How Salt Buildup Burns Leaves
Fertilizer salts and minerals in tap water accumulate in the potting mix over time, especially if you only ever add small sips of water. High salt levels pull moisture away from roots and burn root tips, which shows up as brown, crispy leaf margins.
Overfeeding causes the same damage faster. Ivy is a moderate feeder and does not need strong fertilizer.
Flushing the Soil
Take the plant to a sink or tub and slowly run water through the soil for a few minutes, using about four times the pot’s volume. Let it drain completely.
Scrape off any crust on the soil surface. If buildup is heavy, repotting in fresh mix is the cleaner fix.
Feeding More Gently
- Feed with a balanced liquid houseplant fertilizer diluted to half strength.
- Apply about once a month in spring and summer, when the plant is actively growing.
- Stop feeding in late fall and winter, when growth slows indoors.
- Never fertilize a dry plant. Water first, then feed.
If your tap water is very hard, collecting rainwater or using distilled or filtered water helps reduce mineral buildup. Water at room temperature avoids shocking the roots.
Spider Mites and Leaf Spot: Speckles, Webbing, and Dark Spots
If the leaves look dusty, stippled with tiny pale dots, or webbed underneath before turning brown, spider mites are likely. Dark spots with yellow edges point to a bacterial or fungal leaf spot.
Spider Mites
English ivy is one of the houseplants most prone to spider mites, especially in warm, dry indoor air. These tiny pests feed on leaf cells, leaving fine speckling that spreads until leaves turn bronze, then brown and dry.
Look on the undersides of leaves and where leaves meet stems for fine webbing.
To treat them:
- Isolate the plant from your other houseplants right away.
- Rinse the foliage thoroughly in the shower, top and bottom, to knock off mites and webbing.
- Wipe or spray all leaf surfaces with insecticidal soap or horticultural oil, following label directions.
- Repeat every 5 to 7 days for at least three weeks, since eggs keep hatching.
- Raise humidity, because mites thrive in dry air.
Cut off heavily infested stems rather than trying to save every leaf. Badly damaged leaves will not recover.
Bacterial and Fungal Leaf Spot
Leaf spot diseases show up as dark brown or black spots, often with a yellow halo or a water-soaked look. They spread when leaves stay wet, air circulation is poor, and the plant is crowded.
Remove affected leaves and throw them in the trash, not compost. Water the soil directly instead of over the foliage, avoid misting, and give the plant space for air to move. Clean your scissors between cuts so you do not spread the problem.
Sophia’s tip: I check the undersides of ivy leaves every time I water during heating season. Catching a few speckled leaves early is far easier than fighting a full mite outbreak.
Should You Cut Off Brown Leaves? Cleanup and Recovery
Yes. Brown leaves and brown sections will not turn green again, so trim them once you have fixed the cause. New, healthy growth is the sign that recovery is working.
How to Trim
Fully brown or mostly brown leaves can be snipped off where the leaf stalk meets the stem.
If only the tips are brown, you can trim along the leaf’s natural outline with clean, sharp scissors, leaving a thin edge of brown so you do not cut into healthy tissue.
Long, bare stems with only a few leaves at the end can be cut back by a third or more. Ivy branches from the cut points, which makes the plant fuller. Healthy cuttings can be rooted to fill in the pot.
What Normal Looks Like
An occasional brown, yellowing leaf at the base of an older vine is normal aging. Pull it off and move on. The concern is widespread browning, browning on new growth, or damage that keeps spreading week to week.
How Long Recovery Takes
After you correct the conditions, damaged leaves stay damaged, but new leaves should come in green within a few weeks during the growing season.
In winter, growth is slower, so give it more time before deciding the fix did not work. Avoid repotting, fertilizing, and moving the plant all at once, since too many changes add stress.
Keep It Away From Pets and Kids
English ivy is listed by the ASPCA as toxic to dogs, cats, and horses. It contains saponins that can cause vomiting, abdominal pain, drooling, and diarrhea if chewed or eaten.
Keep it on a high shelf or hanging basket, and dispose of trimmings where pets cannot reach them. If your dog has already chewed some, see my dog ate English ivy: symptoms and what to do now.
The sap can also irritate sensitive skin, so wearing gloves while pruning is sensible.
Your Next Steps
- Check the soil moisture 1 to 2 inches down and decide whether you are dealing with a dry plant or a soggy one.
- Inspect the undersides of the leaves with a flashlight for speckling or webbing, and treat right away if you find mites.
- Move the plant at least 3 to 5 feet from heat sources and AC units, and out of hot afternoon sun.
- Run a humidifier during heating season and aim for 40 to 60 percent humidity.
- Flush the soil if you see white crust, and cut fertilizer to half strength in spring and summer only.
- Trim away brown leaves and leggy stems, then watch for green new growth over the next few weeks.
Common Questions About English Ivy Leaves Turning Brown
Will brown English ivy leaves turn green again?
No, brown leaf tissue is dead and will not recover its color. Once you fix the cause, trim the damaged leaves or sections and let new growth replace them.
Why are only the tips of my English ivy leaves brown?
Brown tips usually come from dry indoor air, a nearby heat source, or salt buildup in the soil. Raise humidity, move the plant away from radiators and vents, and flush the soil if you see a white crust.
Can overwatering make English ivy leaves turn brown?
Yes, overwatering is a common cause, especially in pots without drainage. The leaves usually turn soft and dark brown or yellow-brown, and the soil stays wet; check the roots for rot and repot in a well-draining mix if needed.
How often should I water indoor English ivy?
Water when the top inch of soil is dry, which is often every 5 to 10 days in spring and summer and less often in winter. Always water until it drains out the bottom, and never let the pot sit in standing water.
Is English ivy safe to keep around cats and dogs?
No, the ASPCA lists English ivy as toxic to dogs, cats, and horses. Chewing the leaves can cause vomiting, drooling, abdominal pain, and diarrhea, so keep it well out of reach.

Hi! I’m Sophia, and I love plants – especially an expert in growing house plants. I stay in Chicago, United States of America, and through my blog and social media platforms, provide tips and tricks on how to grow healthy, vibrant plants indoors. Check out more here.